
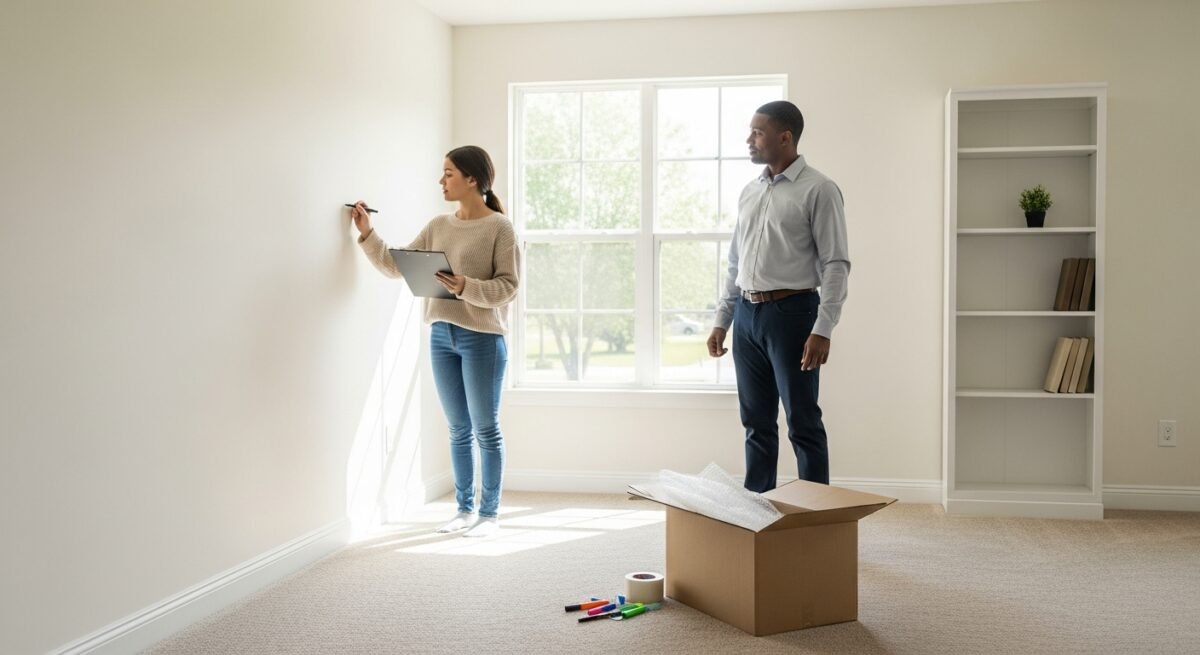
Move Out Inspection Checklist for Renters
Use a detailed move out inspection checklist for renters to protect your security deposit and avoid disputes.

By Lauren Scott
It is the final walkthrough, the last hurdle before you hand back the keys and collect your security deposit. For many renters, this moment feels like a roll of the dice, a suspenseful wait to see if the landlord will find a reason to deduct from your deposit. However, the outcome of this process is rarely a matter of luck. It is a matter of preparation. A meticulous move out inspection checklist for renters is your most powerful tool to protect your finances and your rental history. This guide walks you through every step, from understanding your lease to handling disputes, so you can move on with confidence.
In the world of renting, the security deposit is not just a fee; it is a financial agreement that hinges on the property’s condition. The difference between getting your full deposit back and losing hundreds of dollars often comes down to how well you document the state of the home after you leave. This is where a strategic approach to the move out inspection becomes invaluable. By treating this inspection as a professional transaction rather than a casual farewell, you set the stage for a fair and transparent evaluation.
Why a Move Out Inspection Matters
The move out inspection is the official record of the property’s condition at the time you vacate. It serves as a direct comparison to the move-in inspection report you completed when you first received the keys. Landlords use this comparison to determine if any damage goes beyond normal wear and tear, and thus, if they are entitled to keep a portion of your security deposit. Without a clear, documented record from your side, you are leaving the assessment entirely in the hands of the landlord or property manager, which can lead to disputes and unnecessary deductions.
Moreover, the inspection is not only about the deposit. It is also about protecting your rental reputation. A clean, well-documented move out can lead to a positive reference from your landlord, which is crucial for securing your next rental. Conversely, a move out marred by unresolved damage claims or disputes can complicate your future housing applications. Therefore, approaching this process with diligence is an investment in your future as a renter.
To maximize your chances of a full deposit return, you must be proactive. Do not wait for the landlord to conduct their own inspection. Instead, perform your own thorough walkthrough before you leave, using a detailed rental move out checklist. This allows you to identify and fix minor issues, clean deeply, and document the state of the home with photos and videos. This evidence becomes your defense if any disagreements arise later.
Preparing for the Walkthrough
Preparation is the cornerstone of a successful move out inspection. You cannot effectively document the property if you are rushed or disorganized. Begin by reviewing your lease agreement and the original move-in inspection report. This document is your baseline. It lists the condition of every room and any pre-existing damages. Your goal during the move out is to return the property to that same state, minus any normal wear and tear.
Next, gather your supplies. You will need a camera or smartphone with video capability, a notepad, a copy of your lease, the move-in inspection report, and a pen. It is also wise to bring cleaning supplies for any last-minute touch-ups. Before the official inspection, take a slow, methodical walkthrough of the entire property. Look at everything from top to bottom, inside cabinets, behind doors, and under sinks. This is your chance to spot issues that you can fix immediately, such as nail holes, scuffed walls, or a dirty oven.
Here are the key steps to take in the week leading up to your move out date:
- Schedule the official inspection with your landlord at least a few days before you move out. This allows you time to address any issues they find.
- Perform a deep clean of every room, focusing on kitchens and bathrooms. Pay attention to appliances, grout, and fixtures.
- Patch all nail holes and touch up paint where necessary. Use the same color paint if possible.
- Take a video walkthrough of the entire property, narrating the condition of each room and any pre-existing damages.
By following these steps, you are not only preparing for the inspection but also demonstrating a level of care and responsibility that is likely to be appreciated by your landlord. This proactive approach can often diffuse tension and lead to a more favorable outcome.
Room by Room Inspection Guide
A systematic approach is essential when conducting your own inspection. Going room by room ensures that you do not miss any critical areas. The following guide highlights the most common areas that landlords check, and where disputes often arise. Use this as a core part of your move out inspection checklist to ensure no corner is overlooked.
Kitchen
The kitchen is often the most scrutinized room in the house. It is also where the most significant deductions occur. Start with the appliances. The oven should be free of grease and food residue, and the stovetop should be clean. Check the refrigerator, including the freezer, and defrost it if necessary. Remove all food items and wipe down all shelves. The dishwasher should be empty and free of debris. Inspect the sink and garbage disposal for clogs and cleanliness. Wipe down all countertops, cabinets, and backsplashes. Pay special attention to the areas around the stove and sink, where grime tends to accumulate.
Do not forget to check the inside of cabinets and drawers. Remove any shelf liner that is damaged or dirty. Wipe down all surfaces. Look for signs of pests, such as droppings or nests, and address them immediately. A clean, pest-free kitchen is a non-negotiable expectation for most landlords. If there are any appliance manuals or warranties that came with the apartment, ensure they are still in the designated drawer or cabinet.
Bathrooms
Bathrooms are another critical area. Scrub the toilet, sink, bathtub, and shower thoroughly. Remove any soap scum, hard water stains, or mildew. Check the grout and caulking for mold and replace if necessary. Clean the mirrors, fixtures, and exhaust fan. Ensure that all tiles are intact and that there are no cracks or chips. Look under the sink for leaks or water damage. If you have a shower curtain, wash it or replace it if it is stained. Landlords will also check the water pressure and that all drains are functioning properly.
Pay attention to the details. A small detail like a clean toilet paper holder or a polished faucet can leave a positive impression. However, the most critical aspect is ensuring that there is no standing water or dampness that could lead to mold. If you notice any signs of water damage, document it and report it to the landlord, as this could be a pre-existing issue.
Living Areas and Bedrooms
In living areas and bedrooms, the primary focus is on walls, floors, and fixtures. Inspect the walls for scuffs, marks, and holes. Patch any nail holes with spackle and touch up the paint. If you have painted the walls a non-standard color, you will need to repaint them to the original color. Check the baseboards for scuffs and clean them. Look at the condition of the carpet or flooring. Vacuum thoroughly, and if there are stains, consider getting them professionally cleaned. For hardwood floors, check for scratches or dents and consider a polish if necessary.
Check all windows and window screens. Ensure they open and close properly and that the glass is clean. Wipe down the sills and tracks. Check the light fixtures and ceiling fans, dust them, and ensure all bulbs are working. Also, inspect the closet doors and tracks to ensure they are functioning. A thorough check of these areas will prevent any last-minute surprises.
Documentation: Your Best Defense
Documentation is the most critical component of the move out process. Without it, your word against the landlord’s is not enough. You need clear, timestamped evidence of the condition of the property. Start with a video tour. Walk through each room slowly, narrating the condition of every item. Open closets, cabinets, and drawers. Zoom in on any damage, but also show the overall condition. This provides a comprehensive overview.

In addition to the video, take high-resolution photos of every room from multiple angles. Capture close-ups of any areas that might be subject to dispute, such as a scratch on the floor or a stain on the carpet. Do not forget to photograph the outside of the property, including the yard or balcony, if applicable. Also, take a photo of the mailbox and any storage areas you used.
You should also create a written checklist, as the move out inspection checklist for renters, and fill it out during your walkthrough. This document should list each room and note the condition of every major item. This serves as a written record that can be referenced later. Finally, email a copy of your photos and the written report to yourself and to your landlord, if they are willing. This creates a timestamped record of your submission. A landlord cannot easily dispute a documented claim of cleanliness and good condition.
Understanding Normal Wear and Tear
A key concept in the security deposit process is the distinction between normal wear and tear and actual damage. Normal wear and tear is the natural deterioration that occurs from everyday living. This includes faded paint, worn carpet in high-traffic areas, loose door handles, or minor scuffs on walls. Landlords are expected to cover the cost of repairing these items over time, as they are considered a cost of doing business.
Damage, on the other hand, is the result of negligence, abuse, or accidents. This includes large holes in walls, broken windows, stains on carpet from spills, or burns on countertops. You are financially responsible for damage. Understanding this distinction is crucial because it dictates what you need to fix and what you can leave as is. For example, you do not need to repaint the walls just because they have faded from sunlight, but you do need to fix a hole you made when hanging a heavy shelf.
If you are unsure whether an issue is wear and tear or damage, it is best to err on the side of fixing it. A small repair, such as patching a hole, is far cheaper than a potential deduction from your deposit. Furthermore, addressing these issues proactively shows your landlord that you are a responsible tenant, which can be valuable in maintaining a good relationship.
Common Mistakes to Avoid
Many renters make avoidable mistakes that cost them their security deposit. One of the most common is not conducting a final walkthrough. Another is failing to document the condition of the property. Some renters assume that a verbal agreement with the landlord is enough, but without written and photographic evidence, you have no proof if a dispute arises. A third mistake is neglecting to clean thoroughly, especially in areas like the oven or behind appliances. Landlords are more likely to overlook minor issues if the overall cleanliness is impeccable.
Another frequent error is failing to remove all of your belongings. This includes items in the attic, basement, or garage, as well as trash and debris. If you leave anything behind, the landlord may charge you for disposal. Also, do not forget to cancel utilities and change your address. While this is not directly related to the inspection, it shows that you have completed the move properly. Finally, do not be confrontational during the inspection. Approach it as a collaborative effort to ensure the property is in good condition. A positive, cooperative attitude can go a long way.
Handling Disputes and Getting Your Deposit Back
Even with meticulous preparation and documentation, disputes can still arise. If your landlord makes deductions that you believe are unfair, you have the right to challenge them. First, request an itemized list of all deductions. In many states, landlords are required by law to provide this within a specific timeframe. Compare this list with your move out inspection checklist and your photos. If there are deductions for damages that you believe are pre-existing or normal wear and tear, present your evidence in a clear, organized manner.
Send a written dispute letter to your landlord, referencing your move-in report and your move out photos. Keep a copy of all correspondence. If you cannot resolve the dispute directly, you may need to consider small claims court. This is often a cost-effective way to recover your deposit, and many tenants win these cases when they have proper documentation. The key is to be persistent and firm, but polite.
Prevention is always better than cure. The best way to avoid a dispute is to have a clear, documented record from the start. If you are moving long distance, the process can be even more stressful. To ensure a smooth transition, consider using a professional moving service that can help manage the logistics. For more information on selecting the right movers, you can refer to our guide on how to choose movers for out of state moves. This can help you focus on the inspection, rather than the moving chaos.
Frequently Asked Questions
What if I break something during the move out cleaning?
Accidents happen. If you break a window or a light fixture during the cleaning process, it is best to report it immediately. Do not try to hide it. In most cases, you will be responsible for the repair, but being upfront about it can help maintain trust. You can also check if your renter’s insurance covers such damage.
Do I need to hire a professional cleaning service?
It depends on the condition of the property and your own time and effort. If you are thorough and can achieve a standard that meets the landlord’s expectations, you do not need to hire a professional. However, if you are short on time or the property is heavily soiled, a professional cleaning is a worthwhile investment.
Can the landlord charge me for painting?
Landlords can charge for painting if the walls have significant damage or if you painted them a different color. However, they cannot charge for normal fading or minor scuffs. If you have painted the walls, you must repaint them to the original color or you will be charged.
What is the typical timeline for receiving my security deposit back?
This varies by state, but it is typically between 14 and 30 days after you move out. Your lease should specify the timeline. If you have not received your deposit or an itemized list of deductions within this period, you should follow up with your landlord.
Final Thoughts
Conducting a thorough move out inspection is one of the most important steps in the rental process. It protects your financial interests and ensures a smooth transition to your next home. By using a comprehensive move out inspection checklist for renters, you are taking control of the situation and demonstrating responsibility. Remember to document everything, understand the difference between wear and tear and damage, and communicate openly with your landlord. A little extra effort on the front end can save you significant money and stress on the back end.
As you prepare for your move, remember that the goal is not just to get your deposit back, but to leave the property in a condition that you would be proud to call home. This mindset, combined with the practical steps outlined in this guide, will serve you well. For any additional moving needs, from packing to transport, professional services are available to ease your burden. You can also explore financial planning for your move, including options like auto loan refinancing, to free up funds for your relocation expenses. With careful planning and execution, you can move forward with confidence, knowing you have done everything possible to secure a favorable outcome.